Performing a scan mission
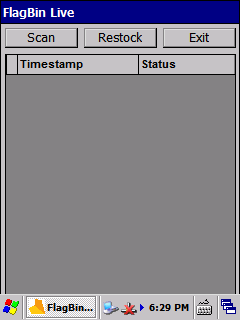
Clicking on the Scan button to start a scan mission
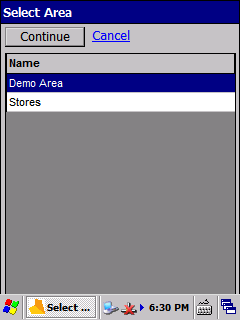
Select Area
Select the area that you wish to scan and click the Continue button.
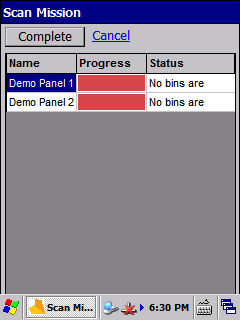
Scanning
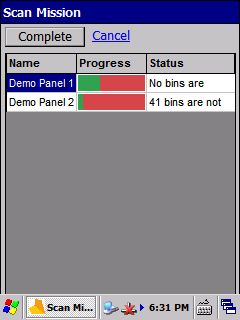
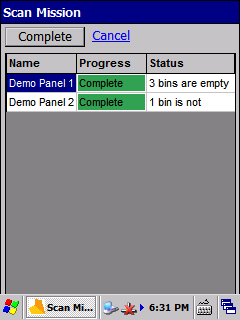
You will then be shown a list of the panels within the area to be scanned. Initially the Progress column will be completely red, as you scan the stock locations this will change to green, once all stock locations have been scanned the Progress column will be completely green. To start scanning, pull the trigger on the handheld. the transmit button on the handheld will be lit and the Complete button on the screen will be disabled. To stop scanning simply pull the trigger again, the transmit button will no longer be lit and the Complete button on the screen will be enabled.
Completing
Once you have scanned all the stock locations, click the Complete button to complete the scan mission and return to the dashboard screen.
Last updated
Was this helpful?